This product was designed by Unexpected Maker.
By buying this product you support original hardware creators.

TinyWATCH S3 is powered by an Espressif ESP32-S3 Dual Core MCU with 8MB of Flash and 2MB of additional PSRAM... plus a whole lot more!
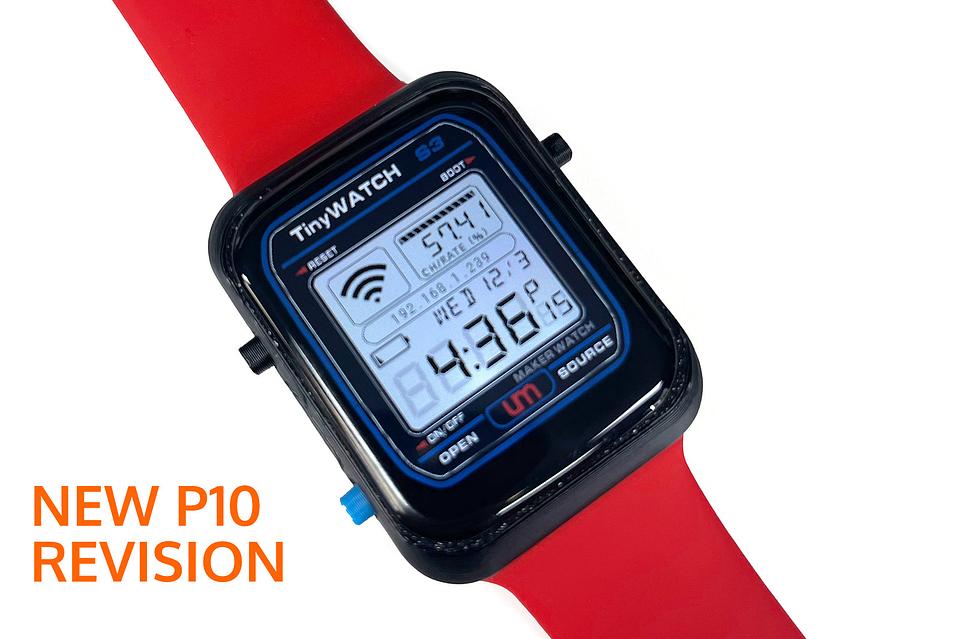
TinyWATCH S3 P10
Sold by Unexpected Maker
$49.00
No tax for United States [change]
This item is currently out of stock. Back in stock soon...
Sign up to get notified when this product is back in stock.Introducing TinyWATCH S3 - An Open Source hackable smart watch designed by Unexpected Maker.
TinyWATCH S3 is powered by an Espressif ESP32-S3 Dual Core MCU with 8MB of Flash and 2MB of additional PSRAM... plus a whole lot more!
Core HW Specifications
- 32Bit Dual Core 240MHz
- RISC-V ultra low power core
- 2.4GHz WiFi - 802.11b/g/n
- Bluetooth 5, BLE + Mesh
- 8MB QSPI Flash
- 2MB Extra QSPI PSRAM
- 700mA 3.3V LDO Regulator
- Power On/Off Button
- USB-C Connector
- Reverse USB back-feed protection
- ESD protection on USB and buttons
- 5V presence detection
- LiPo Battery Charging
- Charge Battery when watch power is off
- 5V Power (red), Charge (orange) LEDs
- 3D High Gain Antenna
Included Peripherals
- 240x280 ST7789 Display
- Capacitive Touch (CST816T)
- I2C Battery Fuel Gauge (MAX1704X)
- I2C Low Power RTC (RV-3028-C7)
- I2C 6 Axis IMU (BMI270)
- I2C Magnetometer (MMC5603)
- I2S MEMS Microphone (ICS-43434)
- Magnetic Buzzer
- Haptics Motor (DRV2605L)
- Power On/Off Button
- Reset Button
- IO0/Boot Button
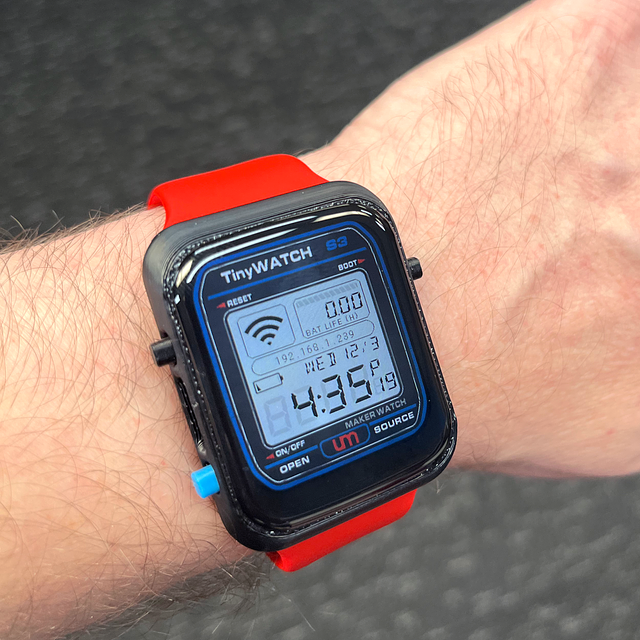
Though TinyWATCH can be worn as your watch (battery required), the firmware is still alpha, and not at a "consumer watch" level that you would expect if you were to buy a "finished product", but it's getting close and has some cool features.
TinyWATCH is the ultimate wrist wearable ESP32S3 development board - Just without pin headers and is NOT in any way breadboard compatible :)
NOTE: Watch band pictured is not included. You'll need to supply your own. See below for more details.
Hardware Status
The hardware is now in its third and final version (P10). Changes in P10 since P7:
- Re-layout of entire PCB to allow for SMD nuts to allow the TinyWATCH assembly to be screwed into the case.
- Battery solder pads were made twice as big to make it easier to solder battery wires to the PCB. Must be done BEFORE the PCB is stuck to the screen with adhesive tape included on the screen.
- New buttons that are more durable and have a better tactile feel to them.
- Brand new case design with bigger buttons and the removal of the screen being friction fit into the case, so no more chances of damaging the screen when disassembling!
Changes in P7 since P4 (initial version):
- New haptics driver and motor
- Removal of the second 1MB Flash IC. All user storage is partitioned in the main Flash now.
- Removal of the 1.25mm battery connector, now requiring soldering of the battery wires directly to the PCB.
- Large PCB layout changes to accommodate the outrageously large haptic motor driver IC and more importantly, to allow room for a brass insert nut to be able to screw the back of the case to the front of the case.
Firmware Status
Official TW firmware is being developed in PlatformIO, and requires a knowledge of C++ and developing for the ESP32-S3 with the ESP32 Arduino Core framework.
TinyWATCH Firmware is in active development
What can the firmware currently do?
Well, it can tell the time - a good start - in both digital and analog formats as well as some custom watch faces contributed by the community :)
There's a basic App framework that has an Audio Visualisation App, A compass (needs calibrating before use) and an example "Hello World" app. The framework is pretty new but shows great potential. No... there won't be an App Store, Apps are built in the core framework.
There's also a Widget framework for adding basic widgets that can be invoked from watch faces - things like the Open Weather widget for showing you the weather, and the battery widget that shows you your battery percentage and charge status.
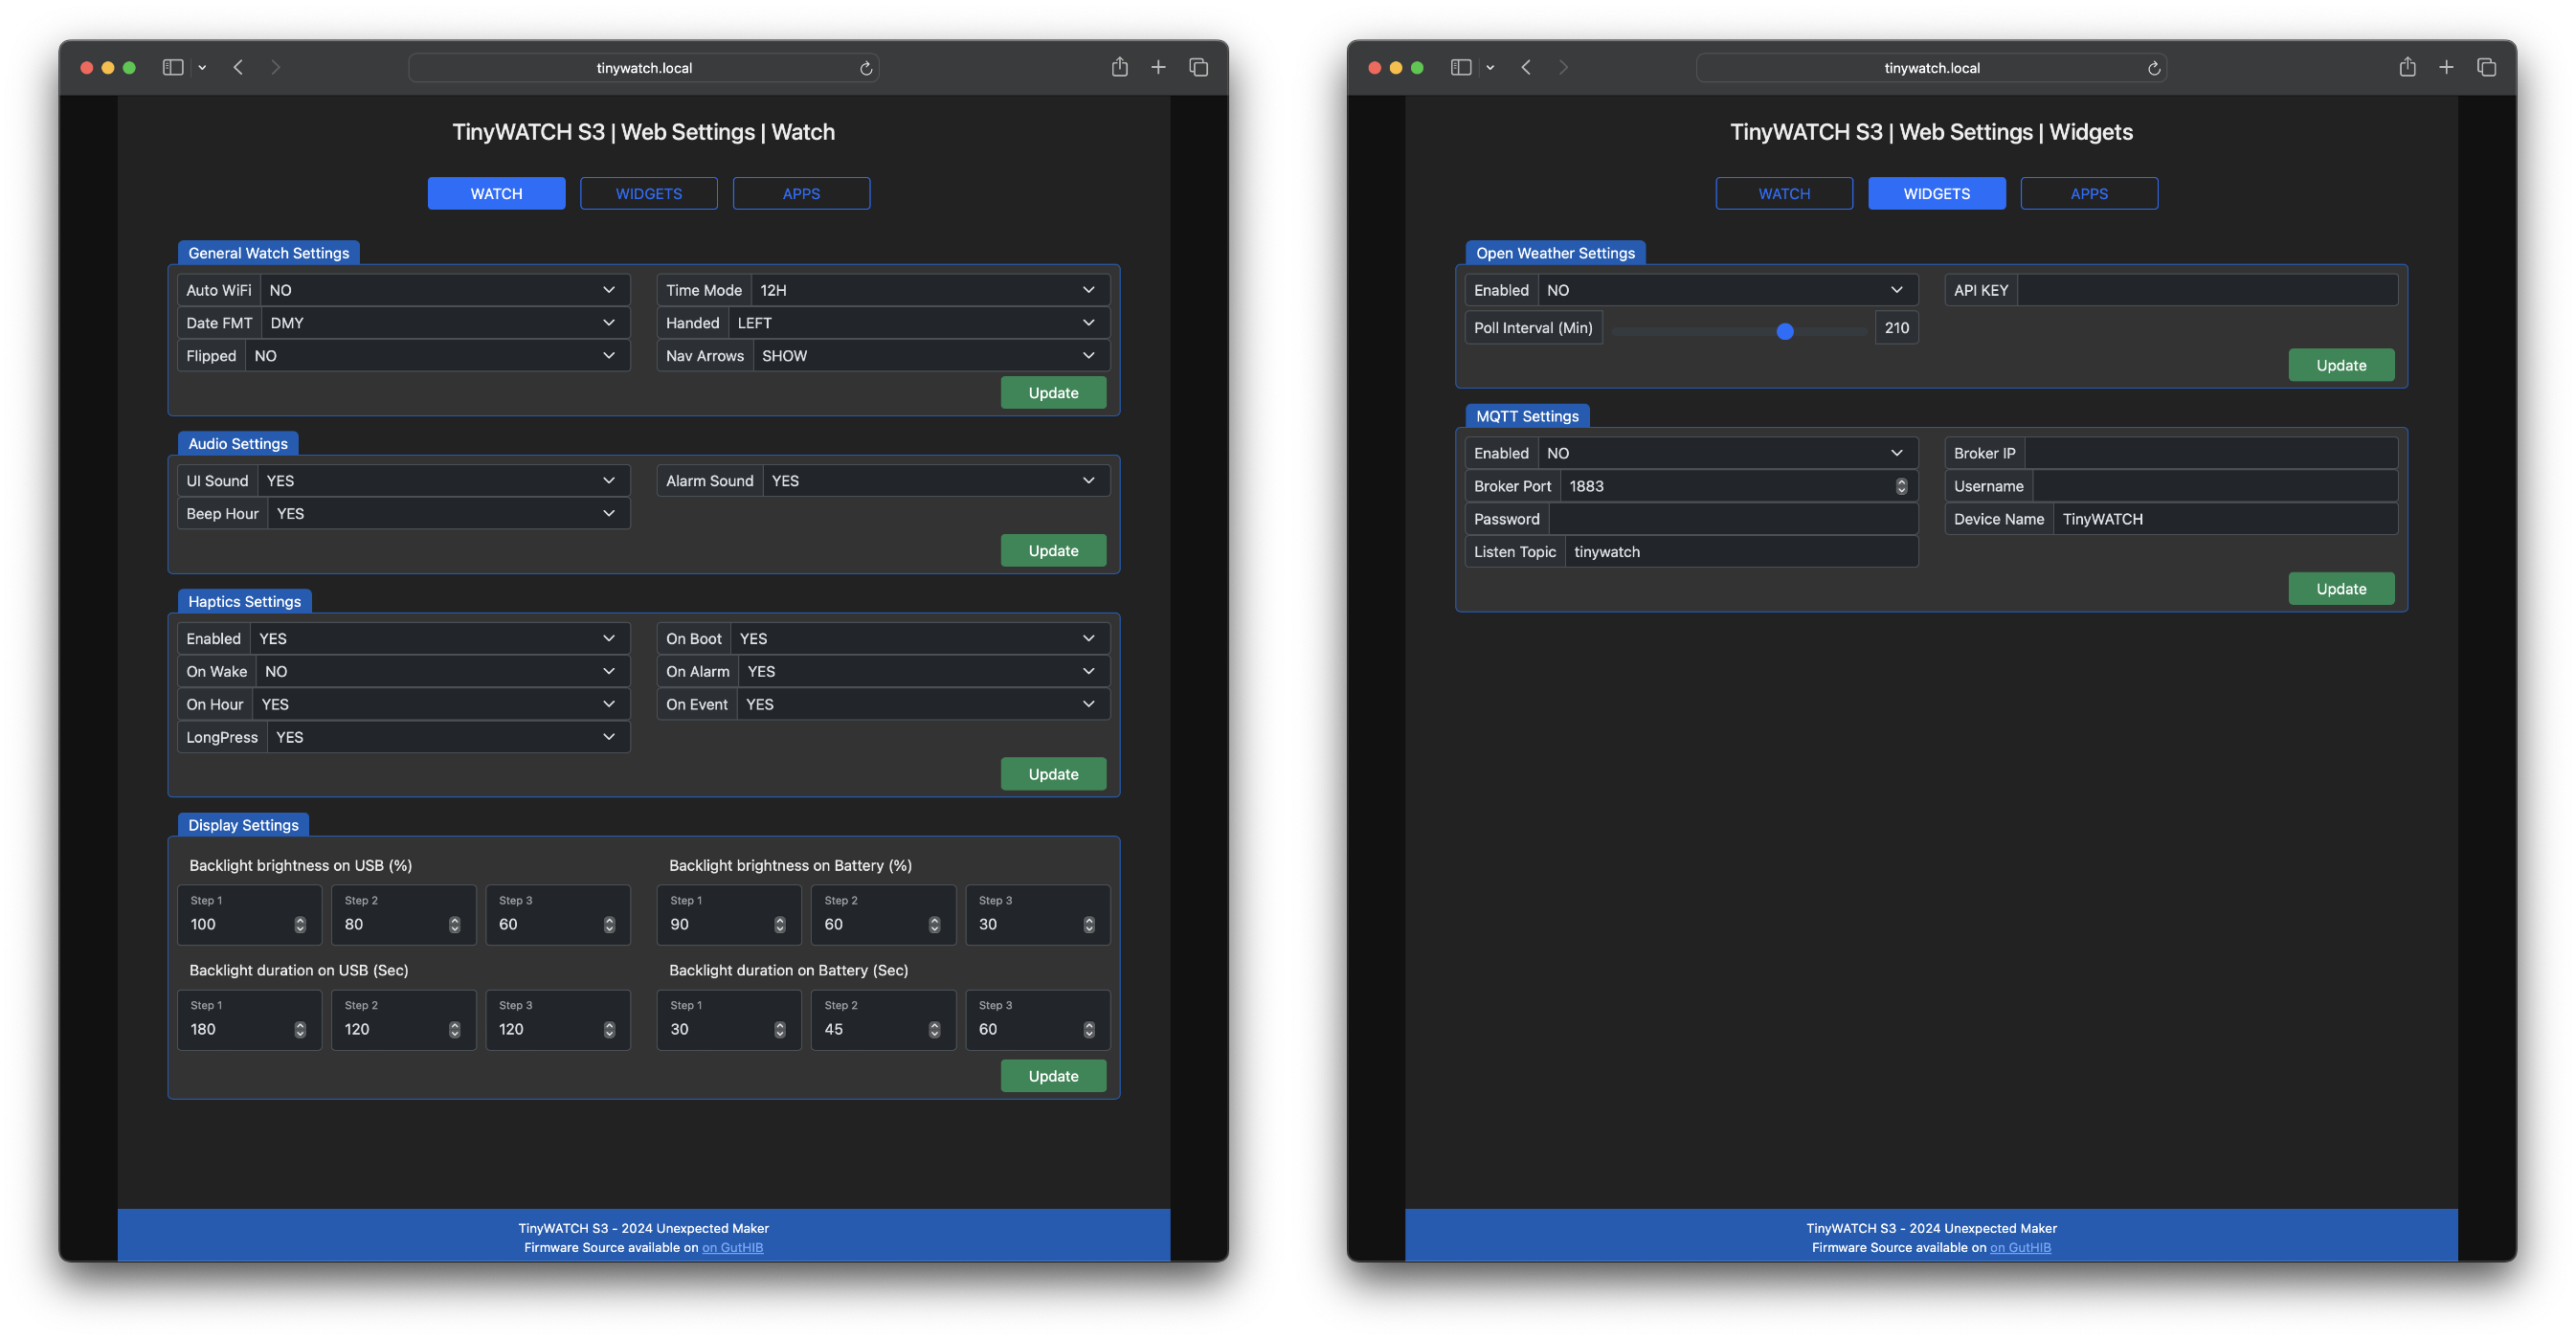
There's also a web interface for TinyWATCH configuration items that are not intuitive to set up on the watch, like entering your API KEY for OpenWeather and a host of other settings.
More web-based customization options will be added as more watch functionality is added.
About showing the time
To set the time, you need to set up your TinyWATCH on your WiFi network, using the WiFi AP mode that will auto start if no credentials are saved. Once set up, the time will be auto-magically set for you, including DST.
Though you can use your watch without setting up the WiFi, it won't give you the correct time, and it will prompt you to set up the WiFi every time you boot the firmware.
TinyWATCH can also count and log your steps, and display some basic IMU data.
What battery do I need to source?
TinyWATCH doesn't ship with a battery, sorry, the laws are currently too complicated to ship a LiPo battery with this product.
The maximum battery size you can fit in the current TinyWATCH is 602530, so 25x30mm and 6mm thick.
Here's an Ali Express Link to the 400mAh 502530 sized battery I have tried.
Here's an Ali Express Link to the 500mAH 602030 sized battery I use in the video below.
How long will the battery last?
Your mileage will vary depending on how you use your watch throughout the day, and how often you play with it, but most people are getting a full day of use out of their watches with a 400-450mAh battery.
TinyWATCH will automatically dim the display and eventually go to sleep after a set time (set by you in the web interface) and will automatically wake from sleep when you lift your wrist (currently for left handed wearers only) or by tapping the screen.
The longer the watch sleeps, the longer the battery will last.
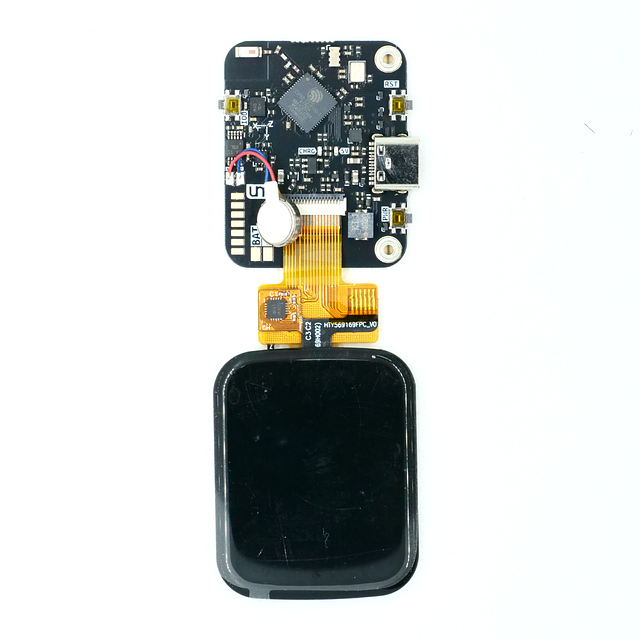
Each TinyWATCH ships in an antistatic bag with:
- TinyWATCH PCB (P10)
- Capacitive Touch Display
- Black ABS 3D Printed Case (P10)
- ### TinyWATCH comes pre-assembled
Your TinyWATCH will arrive assembled in the case to help protect it during shipping. There is no battery shipped with TinyWATCH, so you will need to provide your own.
With the new P10 case design, the screen is no longer wedged into the top of the case with a friction fit, to remove the chance of damaging the screen when removing it from the case. Due to this change though, it is now required to stick the PCB to the screen with the double sided tape produced on the screen.
NOTE: DO NOT stick the screen to the PCB until after you have soldered your battery into place. If you stick them together and then try to solder the battery pad you are li=cely to overheat and destroy some or all of the LCD backlight and display crystals.
The haptic motor also comes unstuck to the case, to allow you to disassemble the watch without damaging the motor. It has adhesive on the back and once you have soldered the battery in place, and stuck the PCB and Screen together, as you re-assemble the watch, you can then stick the haptics to the back of the case inside the circle guide. Having the motor stuck to the back will yield the best vibration.
Opening the case
The P10 case halves are screwed together with 2x M2 screws, and also have a slide in mechanism on the alternate edge of where the screws are. Once you remove the screws, you need to slide the back sideways to remove it.
Please be careful when opening it up as the little 3D printed buttons will scatter as they are only held in place by the switch actuators on the PCB.
Here's a video guide that covers how to disassemble and reassemble the TinyWATCH S3 P10 revision case:
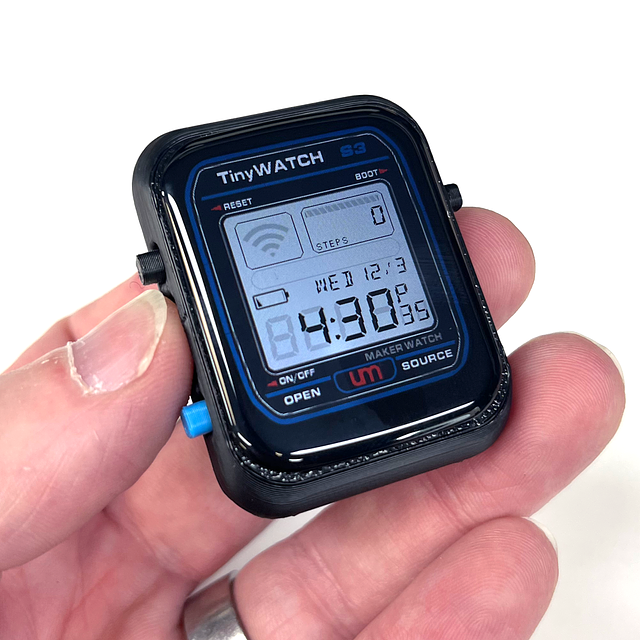
It comes with a case?
Yes, I am shipping the initial units in a 3D printed case (the one shown in the picture above) mainly because it's the easiest way to hold and use the touch screen, especially during development. Without the case, holding the screen still with your fingers while trying to use it often causes incorrect touches - it's just hard.
The case is designed to be used with Apple Watch (or compatible) bands - Just slide each of the bands into each slot on the case. Just remember to remove the USB cable before you walk away from your desk!
You can find STL and STEP files of the case I am shipping in the TinyWATCH S3 GitHub repo. See below.
Where can I find the source files and firmware that shipped on my watch?
All of the HW and FW files for the TinyWATCH project lives in its own GitHub organisation at https://github.com/TinyWATCH-S3
You will find KiCAD project files for P4, P7, and P10 there as well as schematics for each revision in PDF format and an iBOM folder for each revision as well.
Case files for both the P4, P7 and P10 versions are in the repo in both STL and STEP formats. There are also 3D STEP files for both the P4, P7 and P10 revision of the PCBs that you can use to model your own case or enclosure.
Please check the licenses used for both the firmware/models and the hardware and understand your obligation when using the files.
Links to code and documentation
Product HS Code: 853400
Shipping policy
All products purchased on this store ship directly from me here in Melbourne, Australia.
Orders are processed daily and usually go out the same day they are paid for - allowing for time zone differences of course.
Finally, postage rates suck, sorry :( I'm embarrassed by how much it costs to ship items overseas since COVID, and I do my best to improve rates where I can.
Postage delivery times, if stated, are based on current expectations from Australia Post and may vary.
Please keep in mind that there are still occasional postage delays, including flights out of Australia and inbound customs processing into many countries.
The seller
I'm Seon, the Unexpected Maker!
I design and manufacture my own range of electronics products, mostly around micro-controllers, IOT and products that help with manufacturing.
I'm based in Melbourne, Australia, and all products are made by me and shipped from here to hobbyists, makers, companies and resellers around the world.
I design and manufacture my own range of electronics products, mostly around micro-controllers, IOT and products that help with manufacturing.
I'm based in Melbourne, Australia, and all products are made by me and shipped from here to hobbyists, makers, companies and resellers around the world.